


How to Create Transparent Backgrounds
Updated October 2024
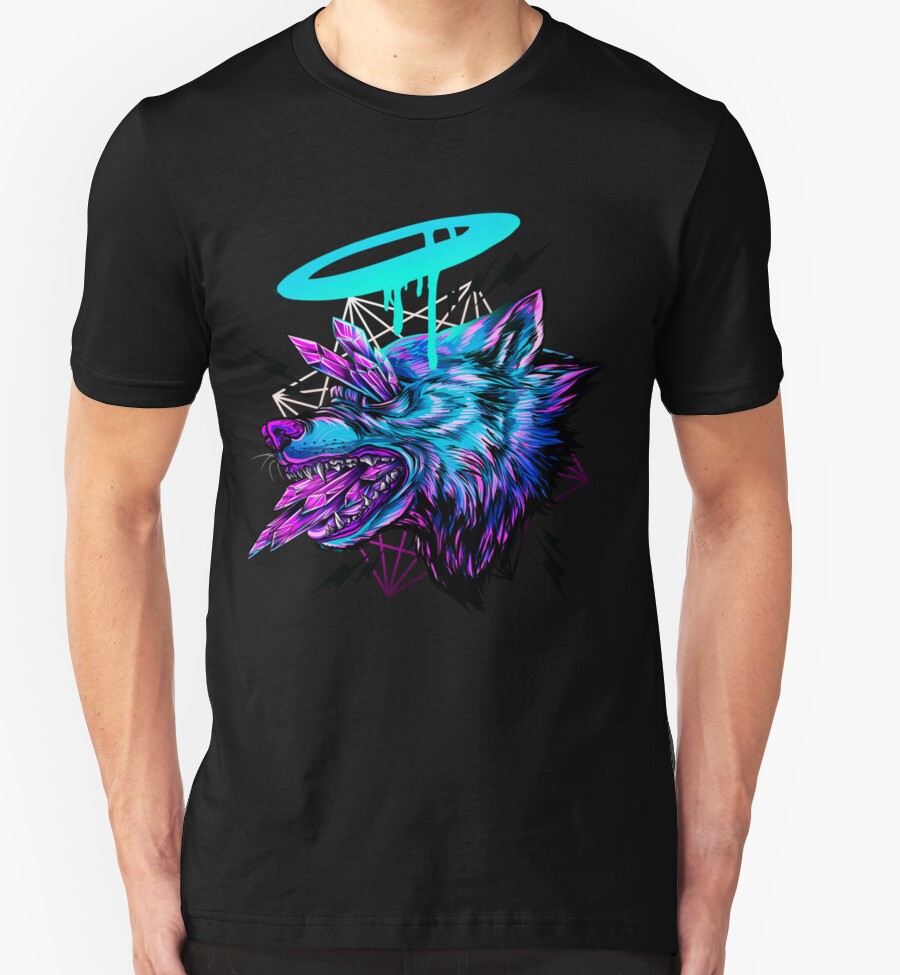
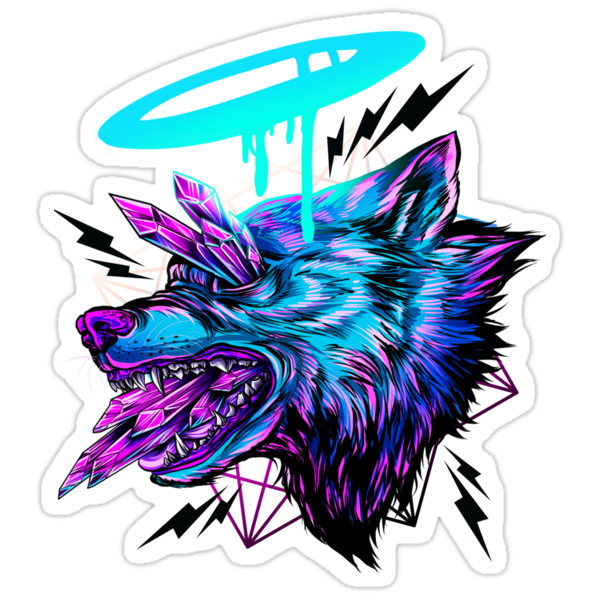
In order to optimize your designs for shirts and stickers, one of the most important things is to have a transparent background. This will allow your designs to have a more exciting look, and for stickers it will give them that snazzy kiss-cut border. To support resource guides like Tips on Designing for T-Shirts and Tips on Designing for Stickers, we wanted to share a few methods for how to extract your work from a background so that can get transparency where you need it.
It’s best to create your digital artwork in a non-destructive manner that lets you easily edit it later. This means using different layers for new elements, shapes, or colors. That way, you can hide the background layer and export the main artwork with a transparent background. In the event your design was scanned or made in a program that doesn’t use layers, you’ll need to know how to remove the background. This is important so you can optimize your file for stickers, shirts, or other products where you can change the background color in our uploader tool.
There are several ways to separate parts of your design and move them onto a new layer. The method you choose will depend on the type of design you’re working with. This article will focus on a few techniques using Photoshop. In the following examples, we’ll use a simple two-color design to demonstrate how each method works. These steps can help you isolate your design elements so you can easily adjust or remove the background and make your artwork ready for printing on products like stickers or shirts.
Quick Selection & Magic Wand Tools
If your design has large areas of solid color or clear separations between colors, the Quick Selection and Magic Wand tools are great options to start with.
The Magic Wand tool is used to make selections based on color and tone. One of the oldest tools in Photoshop, the Magic Wand tool remains useful because it lets you adjust what you’re selecting with features like tolerance, sample size, and the Select and Mask option. You can also Add, Subtract, or Intersect selections using the icons at the top. In the example below, we use the Magic Wand tool to select all the pink areas in a design quickly.
The Quick Selection tool works more like a brush, allowing you to paint over the parts you want to select. You can change the brush size and add or subtract from the selection as needed. This tool is great for painting out sections you want to mask out (like the dark blue area in the example below) or for cutting a figure out of a simple background. Both tools are helpful when isolating parts of your design for stickers or other products.

Select by Color Range
If you want to select a specific area of color without accidentally grabbing extra pixels, the Magic Wand and Quick Selection tools are perfect. Another effective method that works on the whole image is selecting based on color range.
To use this, go to ‘Select > Color Range’ in Photoshop. A popup will appear where you can use an eyedropper to choose the color you want, or you can use the dropdown menu to pick a specific color or tone. You can add or subtract from your selection easily, and adjust the Fuzziness slider to control how much of the surrounding colors get included in your selection.
This tool has some powerful features, so take some time to experiment with it. Once you click “OK,” your selection will be active, and you can copy it to a new layer—just like with the other selection methods. This makes it easy to isolate parts of your design for stickers or any other product that requires precise editing.

Refine Your Selections With Masking
Once you have a selection but still need to fine-tune it, there are some great ways to refine the details. Sometimes small areas of pixels get left out, or complex colors and values make it tricky to select everything perfectly. This is where masking comes in handy.
One option is to use Quick Mask mode. With your selection active, press ‘Q,’ and you’ll notice your image turns red. Now, using the brush tool, you can paint over areas to include or exclude from your selection. Use black to remove parts and white to add them. This technique is especially useful when you need precise control and can adjust your brush size to target detailed areas.
Another method is the “Select & Mask” feature. Go to the “Select” menu and choose “Select & Mask.” This opens a window where you can use tools like Quick Selection, Refine Edge, the brush tool, and the lasso tool. There are also several adjustments to fine-tune your selection. This method works well when you’re dealing with delicate areas, like hair or parts that need a softer edge. It helps refine your selection, making it ready for more intricate work on your designs.
If you’re a visual learner, there are plenty of great video resources out there to follow along. Hop on your favorite search platform to find one that works for you.

Final Thoughts
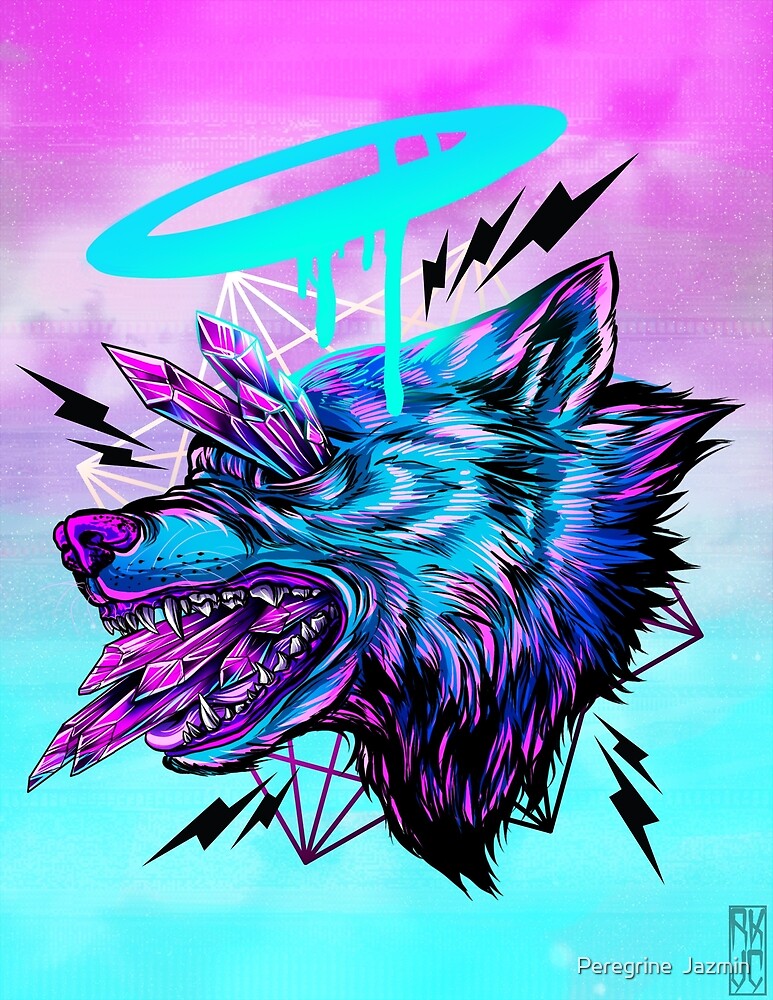
It’s a good idea to get comfortable with all these methods because you might need to mix and match depending on how complex your design is. For example, in the image by retkikosmos below, the background is full of texture and uses many of the same colors as the main design. In this case, using the “Select by Color Range” tool would be tricky. A better approach might be to start with the Quick Selection tool, switch to Quick Mask mode to paint and refine the edges, and then finish with the “Select and Mask” method for fine details.
Once you’ve got your design on a new layer, make sure to clean up any stray pixels. A quick way to check for these is by adding a bright green layer underneath your design, which will highlight any unwanted pixels you can delete. After that, remove the green layer, save your design as a PNG with a transparent background, and you’re all set to add your new creation to your portfolio.


