


How to Scan and Upload Artwork Ready for Redbubble Products
Do you create hand-drawn artwork? Do you have a backlog of work filling up your notebook pages? This blog post has been created to share simple and easy-to-adopt tips and tricks to use when uploading your hand-drawn artwork to sell on Redbubble products.
With our product range constantly growing and evolving thanks to recent additions like pouches, leggings, mugs, and duvet covers, (and even more on the way soon!) it’s imperative to make sure your work is looking the absolute best it can before you upload to RB.
If you’re an old hand at creating, scanning, and touching up your work to show online, we invite you to share your suggestions in the comments below.

"Looking For Astronauts" Pouch by Alex G Griffiths
Find a Scanner With A High PPI
This may seem an obvious step, but you’re going to need a scanner to er… scan artwork to upload. Most modern scanners will be able to scan your artwork at 600 PPI (pixels per inch). Pixels per inch (sometimes known as pixels per centimetre PPCM) is a unit which measures pixel density (which equates to resolution) of different technological devices (scanners, digital cameras etc.)
As a general rule make sure the scanner you’re using can scan at 600 PPI. Ideally you want a scanner that can scan at 1200 PPI to ensure you’re capturing as much detail as you possibly can. If you want to create large files, and in turn big images for juicy products like duvet covers and leggings, you need to ensure you can bump your PPI as high as it can go.
A good way to think about it for printing on products is to try and scan at a PPI rate that is double that which you require to print without any loss of quality. So for example if you need an image with a PPI of at least 300 PPI, always scan at 600 PPI. This will ensure that when you upload onto different products you have the flexibility and raw information to create high quality, flawless products.
For more: 5 Things to Do Before You Start Making New Artwork

"Just a Few of My Favorite Things" Leggings by Perrin Le Feuvre
Scan Your Black and White Artwork In Grayscale
Once you’ve drawn, sketched, or inked your design, it’s important to make sure you upload the artwork in grayscale, not in “Black and White,” which is a common option on many scanners. Scanning in black and white means that the scanning software makes a heap of decisions about what is and isn’t important information to scan. This means that instead of getting an unbiased and thorough scan of exactly what you put in your scanner, you’re going to end up with a guesstimate of what a piece of software thinks is important and will mostly display absolute whites and absolute blacks in your artwork. It’ll end up looking like a terrible vector-ish, pure-contrast black smudge. And we do not need any of that. If your artwork is color heavy, obviously scan in “Color” mode.
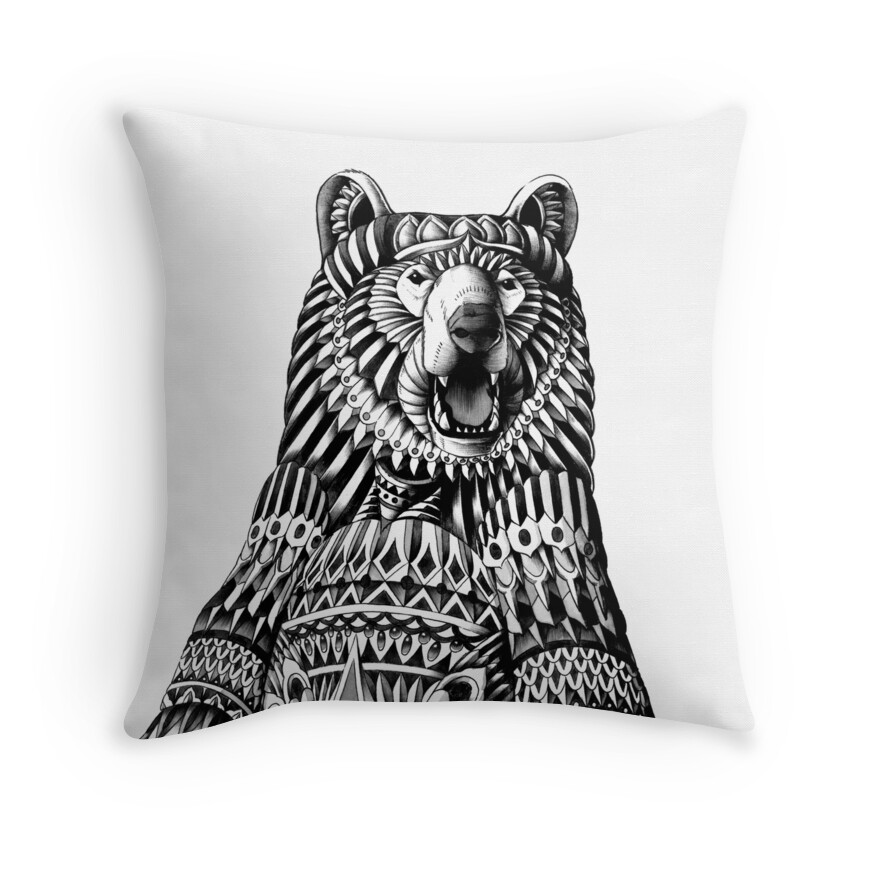
"Ornate Grizzly Bear" Throw Pillow by BioWorkZ
Clean Up Your Images
This is easily the most tedious part of scanning and uploading artwork for the web. Cleaning up scanned images is always a pain, but it’s so important to do properly. Open up your image in Photoshop, GIMP, or your chosen editing software and use your tools to get rid of the common mess-making offenders when you’re scanning. Images you scan are made messy by dust, finger prints on the glass of the scanner, smudges on the artwork, and more and more dust. You can use the rubber stamp tool to zoom in on your image and get rid of dust marks, which is a long but necessary process, especially if you’ve got a large 1200 PPI image. Your artwork will end up looking so much better, which will then make your products look even more amazing. So do this step justice and it will make for digitally altering, coloring, and painting on top of your design even easier.
Use Our Tiling Feature
When you upload your work into your Redbubble profile, you can turn your freshly scanned hand-drawn works into repeat patterns by using our tiling feature on duvet covers (and other, soon-to-be-announced products!). Repeat patterns look great on any RB product, from apparel to home decor.
For more: Redbubble’s Tiling Feature Makes Repeat Patterns Easy
Utilize As Many Products as Possible
Make your work available across a wide range of products. Hand-drawn art works on apparel products like leggings, pouches, t-shirts, and more, while also looking great on home decor items like duvet covers, throw pillows, and mugs. Don’t be afraid to experiment. Giving your fans lots of options can lead to lots of sales.
For more: 5 Ways to Design with Products in Mind
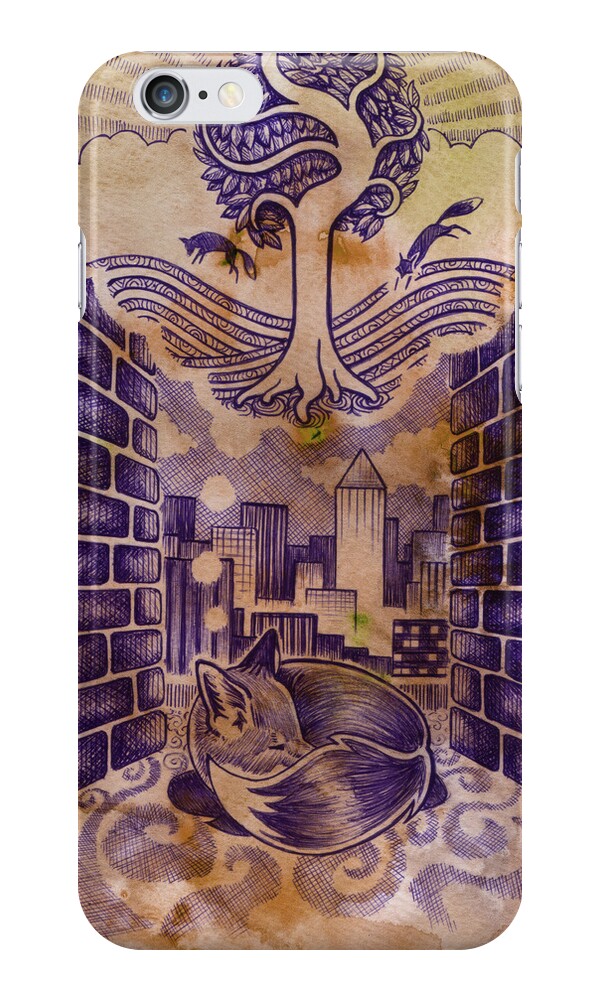
"Fox Cub Dream" iPhone 6 Case by Pete Katz
You can check out our related blog posts which focus on different techniques and tutorials about making and editing Redbubble products:
5 Things to Think About When Uploading Work
5 Things to Do Before You Start Making New Artwork
How To Make A Pattern for Duvet Covers
How To Make A Repeat Pattern in Illustrator


